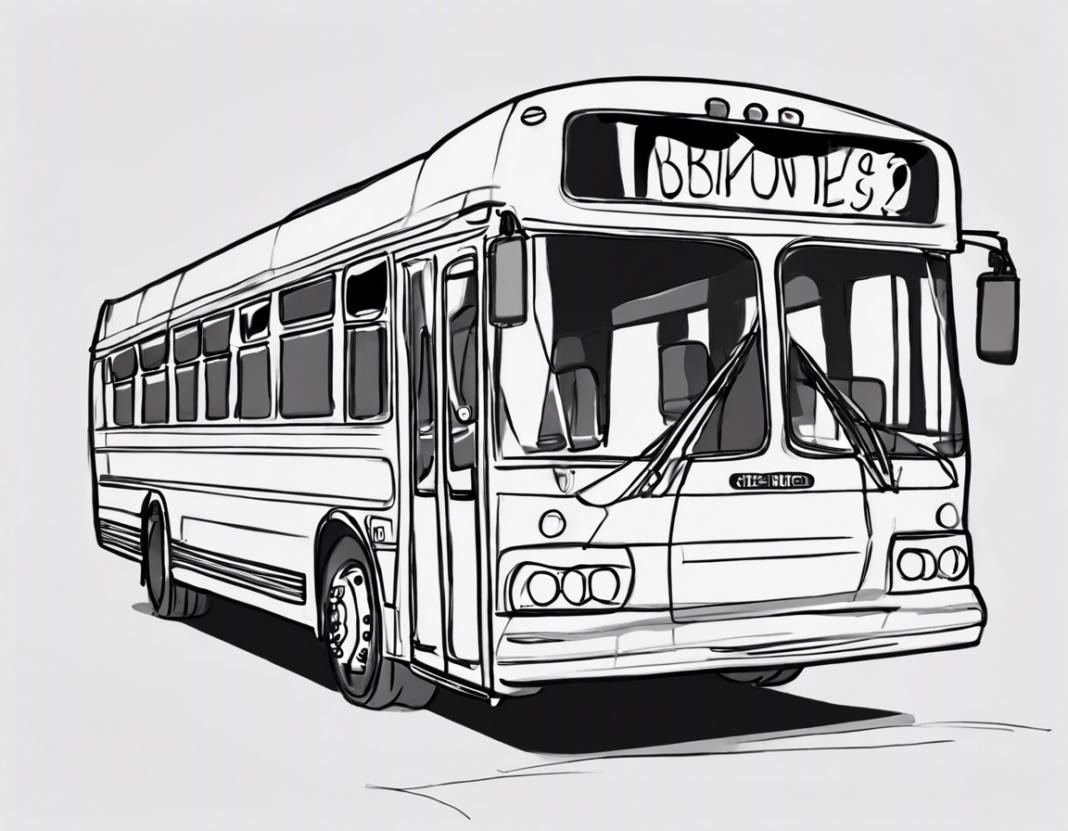
Drawing is a delightful activity that fosters creativity and improves hand-eye coordination. Whether you are an aspiring artist, a student working on a project, or simply seeking a fun pastime, drawing can be a rewarding endeavor. In this guide, we will delve into the step-by-step process of drawing a bus. Buses are iconic vehicles with unique shapes and features that make them an interesting subject to sketch. Follow along to learn how to draw a bus with detail and precision.
Materials Needed:
Before we begin, gather the following materials to start your bus drawing:
– Drawing paper
– Pencil
– Eraser
– Ruler
– Colored pencils or markers (optional)
Step 1: Outline the Basic Shape
Start by sketching the basic shape of the bus. Use your pencil lightly to avoid making dark lines that are difficult to erase. Begin with a rectangular shape for the body of the bus. Consider the proportions and placement of the bus on your paper. A simple rectangular shape will serve as the foundation for adding more details in the following steps.
Step 2: Add Details to the Body
Next, add details to the body of the bus. Buses typically have large windows along the sides. Sketch the windows using horizontal lines across the length of the bus. Include the front windshield and the doors towards the front of the bus. Pay attention to the size and spacing of the windows to maintain a realistic look.
Step 3: Incorporate Wheels and Doors
Include the wheels of the bus in your drawing. Buses usually have two sets of wheels, one near the front and another near the back. Draw circular shapes for the wheels, making sure they are aligned with the body of the bus. Add details such as hubcaps or wheel rims for a more polished look. Include the bus doors towards the front, outlining them with rectangular shapes.
Step 4: Define the Front of the Bus
Focus on the front of the bus to capture its distinctive features. Sketch the headlights and grill of the bus. Pay attention to the shape of the headlights and the grille pattern, as these details vary among different bus models. Add the windshield wipers and any other unique features that stand out on the front of the bus.
Step 5: Refine Details and Lines
Once you have the basic structure of the bus in place, go over your sketch and refine the lines and details. Darken the lines you want to keep, such as the outline of the bus, windows, and wheels. Erase any unnecessary guidelines or stray marks to clean up your drawing. Take this time to adjust proportions or make any necessary corrections.
Step 6: Add Color (Optional)
If you wish to add color to your bus drawing, now is the time to do so. Use colored pencils or markers to bring your bus to life. Consider the color scheme of the bus you are drawing, whether it is a classic yellow school bus or a city transit bus with a specific livery. Add shading to create depth and dimension in your drawing.
Step 7: Final Touches
To complete your bus drawing, add any final touches or details that will enhance the overall appearance. You can include surrounding elements such as roads, buildings, or trees to place your bus in a context. Sign your artwork and take a moment to appreciate your finished creation.
Tips for Drawing a Bus:
– Study reference images of buses to familiarize yourself with their shapes and details.
– Practice drawing basic shapes and objects to enhance your drawing skills.
– Experiment with different styles and techniques to develop your own artistic flair.
– Don’t be afraid to make mistakes; drawing is a learning process that improves with practice.
– Share your artwork with others to receive feedback and encouragement.
FAQs (Frequently Asked Questions):
Q1: I’m new to drawing. Is it difficult to draw a bus?
A1: Drawing a bus can be challenging for beginners, but with practice and patience, you can master the process. Start with simple shapes and gradually add details to build your confidence.
Q2: What if my bus drawing doesn’t look realistic?
A2: Realism in art takes time to develop. Focus on observing the details of real buses and practice translating them onto paper. Keep refining your skills, and your drawings will improve over time.
Q3: Can I add my own creative touches to the bus drawing?
A3: Absolutely! Feel free to add your own creative flair to the bus drawing. Experiment with colors, patterns, or backgrounds to make your artwork unique and expressive.
Q4: Should I use a reference image when drawing a bus?
A4: Using a reference image can be helpful, especially if you are aiming for accuracy. Study different bus models and styles to understand their features before starting your drawing.
Q5: How can I make my bus drawing stand out?
A5: To make your bus drawing stand out, focus on details such as shading, reflections, and background elements. Adding depth and dimension will make your artwork more visually appealing.
Drawing a bus can be a fun and engaging artistic endeavor. By following these steps and practicing regularly, you can enhance your drawing skills and create captivating bus illustrations. Remember to enjoy the process and embrace the creativity that drawing brings.
